Friday, February 28, 2014

Growing Carrots in a Bucket

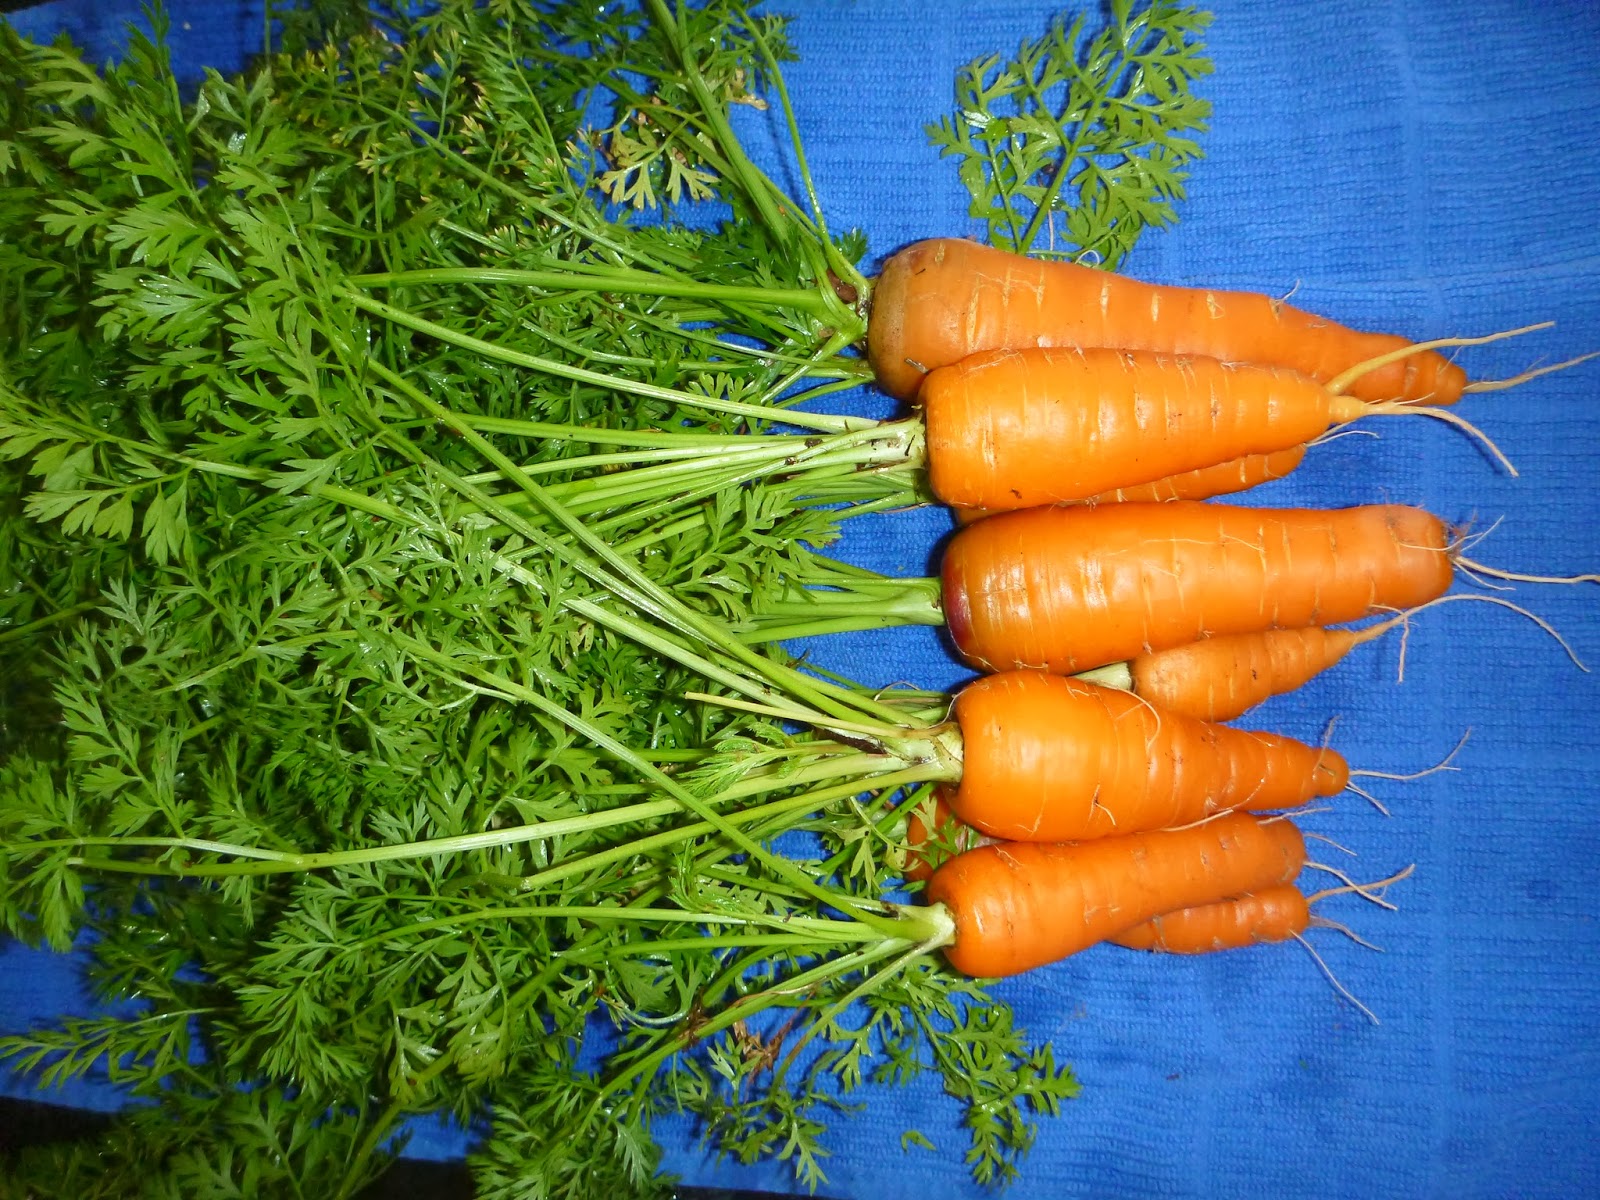
Growing carrots is easy and fun, given the correct soil and seed spacing. Soil must be loose with no obstructions such as hard clay, limestone, or rocks. One of the easiest methods we have used is planting carrot seeds in a bucket. 
The bucket will need to have a drain hole in the bottom.  Fill the planting bucket with potting soil or compost. Push the soil to the sides of the bucket to make a space in the center column. This is filled with organic fertilizer or worm castings. Add composted soil on top of the fertilizer/worm castings and water well. 

Seeds should be placed in top of the soil 3" apart (only a single seed per spot), about 2" from the sides of the bucket. Sprinkle a very small amount of loose soil over the seeds and water with a fine mist. Do not allow soil to dry out. 


Carrots are ready in about 2 months. You can see the tops of the carrots peaking up through the soil when they are ready to pull.


We find Valery variety of carrots to be excellent growers and full flavored. Excellent for roasting! Short 'n Sweet variety is great for eating raw and is less tapered.

Wednesday, February 26, 2014

How To: Freeze Passion Fruit

Passion Fruit pulp freezes nicely. 


Scoop the pulp/seeds into a blender...


Blend the pulp for 15 seconds...then strain out the seeds.  


Pour strained pulp into ice cube trays and freeze. 


 Once frozen, pop out and store the passion fruit cubes in an airtight container or ziplock bag. 


The fruit shells should go into the compost...


We are using an old stainless steel washing machine drum, buried in the ground for a compost bin. 

Monday, February 24, 2014

What is growing in February - Harvest Face

Our Florida gardens have continued to provide us with plenty of fresh foods this February.

Lemon Queen Sunflowers (picked early as flowers to enjoy)
Valery Carrots
Short 'n Sweet Carrots
Broccoli
Heirloom tomatoes
Ecuadorian Cilantro
Bell Peppers, 
Sweet Peas
and more Passion Fruit

Thursday, February 20, 2014

Dried Star Fruit - An Excellent Snack

Generally, I prefer fresh fruit to dried fruit. However, the starfruit is an exception. Starfruit takes on a wonderful flavor and texture when dried. 


Any time you are using starfruit, you should cut off the rips and ends. 


To prepare for drying, cut starfruit into 1/4-1/2" sections.


Place the slices on the dehydrator trays and set the temperature to 135 degrees. Any thinner pieces will dry faster (about 8 hours), while thicker pieces may take up to 12 hours. Store cooled fruit in a sealed container in the refrigerator. These make a tasty snack to bring along when out and about.

We recently purchased an Excalibur dehydrator. We are very pleased with it and find it far superior to the round dehydrators we were accustomed to using. It is a good investment if you plan on drying fruits/flowers/herbs from your yard. We have been making fresh herbal teas and drying fruits ~ all using items grown in our backyard. These starfruit, were a gift from a friend's backyard tree.


Starfruit makes an excellent dried snack! 


Note: Starfruit should not be eaten by people with kidney disease

920x60-2

Linkwithin

Related Posts with Thumbnails